Showing posts with label DIY. Show all posts

Monday, July 8, 2013

DIY Serving Tray

Sorry about the delay between posts.  We had a fantastic holiday away and I am just starting to feel human again now the jet lag has gone.   The flight back from the US to Perth is tough...  40 hours later (including long stop-overs) it was so nice to be home in our own place.  

I did come home to find this little treasure on our table which was nice!


A gorgeous friend had knitted my teapot a little hat to keep it warm! Very thoughtful and very appropriate for today's post...  

Did you catch my second guest post for We Love Perth on my DIY Serving Tray?  With Winter here I am all about entertaining at home and in particular I love a good old fashioned afternoon tea.  These easy to make serving trays are perfect to serve your afternoon tea on.  I might have to organise one this weekend just to show off my new teapot hat!  

You can read the full post here.

M xx


Wednesday, May 1, 2013

DIY Candle Holder

We were wandering around Bunnings a few weeks ago (everyone does this on the weekend right?) and saw these wooden blocks on the shelves.  I thought they'd be perfect for an easy DIY project.


After umming and ahhing over what to make we decided to make a DIY candle holder.  The original plan was to create two candle holders, each made of two blocks.  After spraying them I decided they look better as a stack of four so I have only one for now.  A good excuse to go and buy four more so we have a pair! 

For colour I decided on black and used Dulux Spraypax in Gloss Black.  I hadn't used a gloss spray paint before and found it does have its challenges...  after spraying the blocks outside it felt like every time I came back to check on them I'd find bits of dust/sand/miscellaneous items stuck to the blocks!!  The downside of living with a sea breeze I suppose!! 


M xx

Wednesday, March 27, 2013

Clever friends!

Although we've only been in Perth for a short time I've been lucky to meet some like minded friends who enjoy a DIY project too.  On my latest trip here (when I found my DIY drinks trolley) three of my friends also found bits and pieces that they saw potential in. This is our haul below.  Wiz and Matt bought the hat stand and watering can and Kate got the wooden try and old trunk.  


I've just caught up with both friends this week and saw their finished projects.  How great do all these look!


M xx


Wednesday, March 20, 2013

DIY Drinks Trolley

I like the idea of a drinks trolley.  To me it evokes something glamorous and decadent,  straight from the vaults of old school Hollywood.  I am sure any drink I would make from there would taste that much better because it came from the drinks trolley. Whether you fill the shelves with bottles or just use a select few along with some vintage decanter bottles there are so many styling options.   


So I was pretty excited when on a recent trip to here I found this run down trolley... as soon as I saw it I thought drinks trolley...  a neon drinks trolley!


The best part of my DIY drinks trolley is that it was super easy to do!

Materials I used:
1. fine sandpaper
2. White Knight spray paint in fuchsia

All we needed to do was give the trolley a good clean and a quick sand with some fine sand paper.  We then sprayed the trolley with two layers of fuchsia spray paint and let it dry.  It took less than two hours and all up cost me less than $15.


Anyone keen for a drink?

M xx


Images: here, here

Wednesday, February 13, 2013

Fabric as Art

No matter where I live I seem to accumulate fabric.   Whether it was bought with a specific project in mind or just because I loved the fabric and hoped I might use it one day, my fabric collection has grown.  Instead of it sitting in the cupboard I thought why not use my favourite pieces to create some new art to hang around the house.  

Materials I used:
1. An old canvas print I already had
2. Staple Gun
3. Staple Remover
4. Staples
5. Fabric (make sure it is ironed to remove any creases)


Firstly I removed the staples of the current canvas print and turned it inside out and restapled it.  The fabric I wanted to use was quite light so I didn't want the old canvas print to show through.  I unscrewed the existing hook and kept to put back on later. 

I then cut the fabric to size and stapled a few staples along one side before pulling taught and stapling the opposite side.  It was then just a matter of working my way around making sure the fabric was pulled tight.  The corners were folded just like you would a present.  I then just replaced the hanging hook and we're finished!


Our spare room before:


And After:


 M xx


Tuesday, January 29, 2013

Rubbish or Treasure

You know the saying, one person's rubbish is another person's treasure... 

When we were living in Dubai I came across this chair on my morning run.  It had been put out with someones rubbish!  The chair was too big for me to carry home at the time so after what felt long a long day at work we finally got the chance to go back that night with the car... and it was still there!  Hoorah!

Unfortunately I don't have a before photo but the chair was in bad shape.  It had been left outside so it was covered in grime.  The rattan on the seat was ripped and the chair was extremely unsturdy.  Luckily for me I had a really handy friend who very kindly came around to help me repair the chair. 


The VERY handy Matty!

 We removed all the rattan from the bottom section and Matty built a new frame.  He also put new supports underneath to strengthen the chair.  He then made a new wooden seat to replace the rattan.  After a really good sand and clean the chair was looking fabulous already!

We layered a piece of foam over the top of the wooden base and then covered it in fabric to complete the cushion for the seat.  

So this item of someone's rubbish has now become my most treasured piece of furniture!


Wednesday, January 23, 2013

Junk in the Trunk

 
I have long been a fan of vintage shipping trunks and have kept my eye out for one for years.  Whether they are stacked beside the bed as a bedside table or used in the lounge room as a coffee table I love their rustic look.  I'd love to find a trunk in good original condition, I'd like to imagine all the stories that trunk could tell about its travels.


Old trunk painted whiteLove this trunk


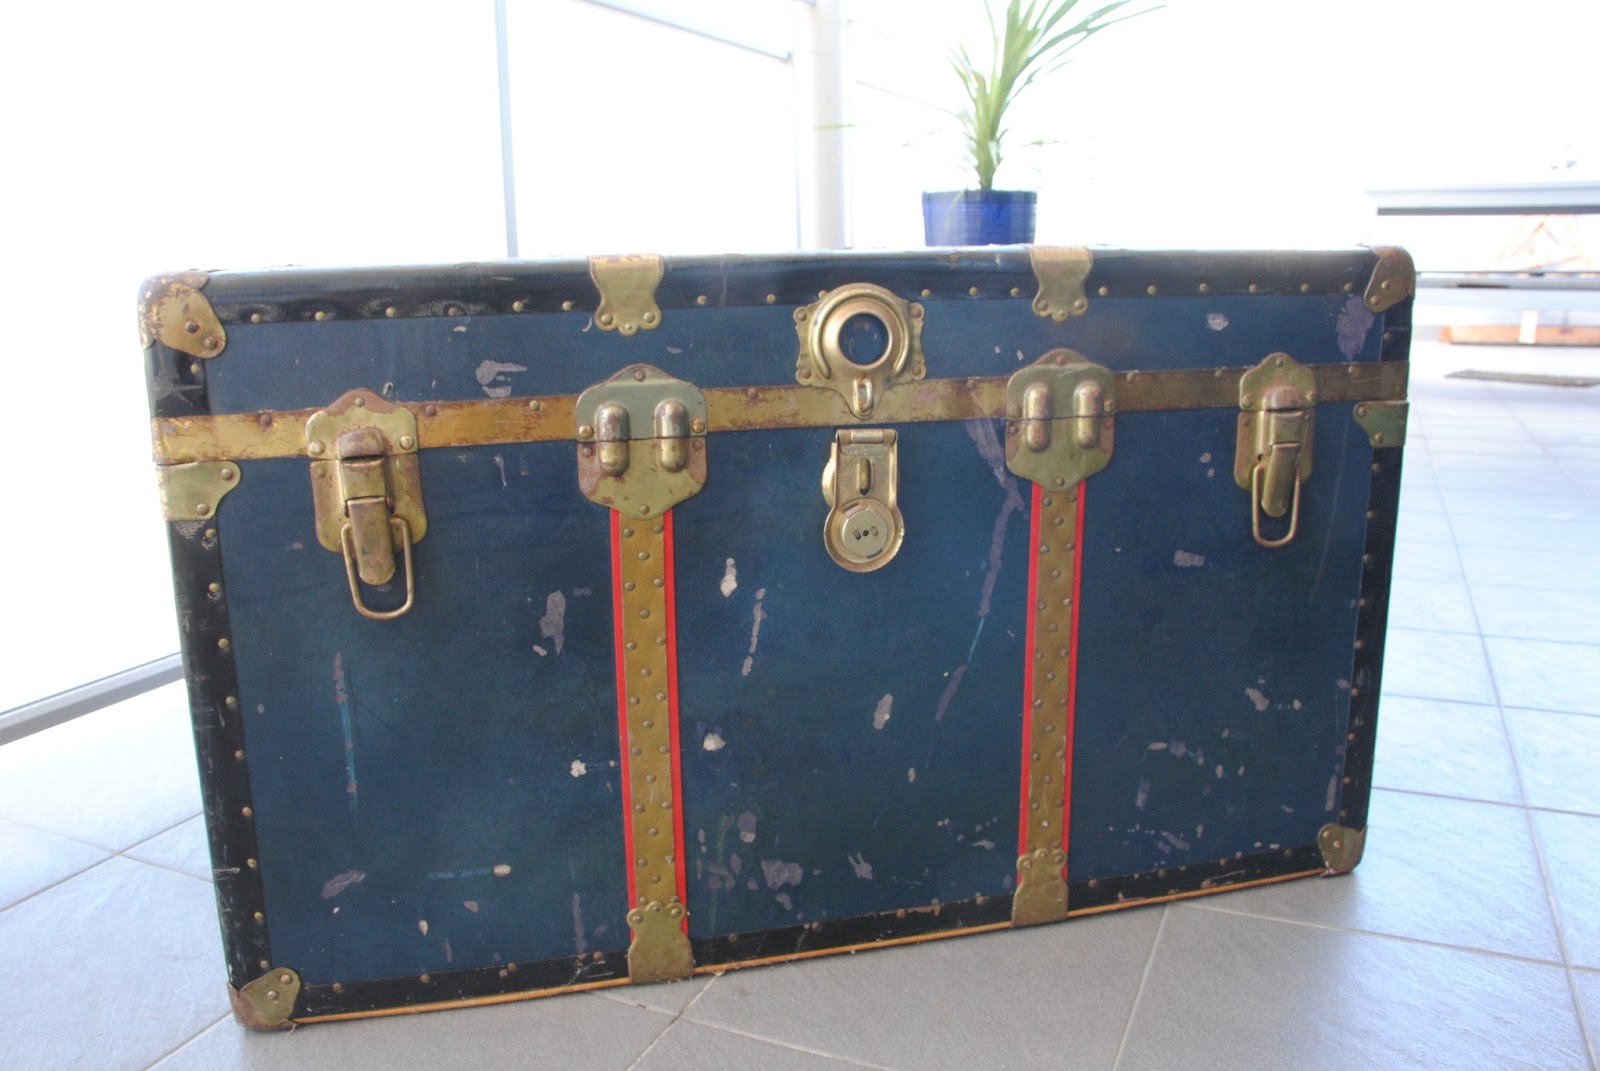
On a recent trip to my happy place we found the below trunk.  Although this trunk seems to be a cheaply made one out of fairly thin chipboard and coated steel joinery rather than brass* I thought it had potential and for only $20 thought it was worth a DIY weekend to find out.  


As much I would have loved to keep it as it was is, unfortunately it hadn't been looked after and had flaking paint along with the first signs of mould   So I decided I would try and paint it to give it another lease on life.  I decided on a gold and white stripe effect.  

First I had to scrape off the flaking paint layer.  The original joinery was in a decent condition so I covered these sections in masking tape to leave them as they were.  I then painted the entire trunk in 3 coats of white paint leaving a few hours of drying time between each layer.  I wanted to use fairly thick stripes so I measured each panel to determine the thickness of each stripe.  These were then marked out with masking tape before spraying the gold sections with spray paint..  


After a few hours of drying time, we now have a new trunk for our spare bedroom!


M xx


Images: here, here, here and here

* a quick test with a magnet will help you work this one out.  If the magnet sticks it is not solid brass.

Monday, January 21, 2013

My Happy Place

It has been a few weeks since we have been to my favourite place here in Perth and after going today I have decided it is my happy place.  Some people may like a department store, others may like a certain cafe that makes the perfect coffee or maybe the beach... but for me it is the recycling centre (fondly called the tipshop) in Balcatta! I love that you never know what you might come across, that anticipation of finding that amazing object that just creatively inspires you...  well today that happened!

As soon as we walked in I saw the below... beautiful right? And for the bargain price of just $20 it was an easy decision!


As beautiful as it was already it did need a bit of TLC once we got home.  There were cobwebs all over  and the wood was really dried out and starting to crack.  For an easy way to bring your dry wood back to life just brush over a blend of  turpentine and boiled linseed oil.  I used a 60:40 ratio and it worked fine but there does seem to be a lot of varying advice about what ratio to use on the internet.  Just make sure you give the wood a thorough sand first and then a wipe over to clean up any dust. After using the oil we just left it in the sun for a few hours to dry and to absorb the oil.  

So after a few hours.. we have a new tv cabinet!!


M xx